Free OCS 2007 R2 e-books..
For the next few days you can download free copies of some MS Press e-books on OCS 2007 R2.. visit Johann’s Blog here for more info
For the next few days you can download free copies of some MS Press e-books on OCS 2007 R2.. visit Johann’s Blog here for more info
I first saw this at a Quest Software presentation a little while ago, fascinating stuff:
That’s right.. as we already know, when Exchange 2007 was released, a 32-bit version (which was unsupported in production environments) was made available for use in lab environments, for demos etc.
This will not be the case with Exchange 2010 as Microsoft will not be shipping a 32-bit version at all. What now? well.. I’m sure we’ll all agree that this a probably a good thing in the long run, forcing organisations to start seriously considering the deployment of 64-bit servers for things other than Exchange, like, for example DC’s.
It certainly is the start of a interesting journey, hopefully other software vendors will be prompted to start making more of an effort to make their applications 64-bit compliant too, it is, in my opinion, long overdue!
The webcast will be hosted by Johann Kruse on Friday, June 19, 2009 11:00 AM Australia (East). To register for this webcast, click here
Microsoft recently announced that Exchange 2007 SP2 has been slated for release later this year. Exchange Server 2007 SP2 enables customers to increase their operational efficiency and it sets the foundation for the transition to Exchange Server 2010, which is expected to be available in the second half of 2009. In case you haven’t heard, a public beta of Exchange Server 2010 is available for download here
Key new features of Exchange Server 2007 SP2 include:
The last feature is worth expanding on as it has been the subject of much discussion. Exchange 2007 SP2 will ship with a backup plug-in that will enable Windows Server Backup to backup Exchange data. A few things worth noting about this are:
Detailed documentation will be available when SP2 ships, but for more detailed information, check out this post on the Exchange Team Blog
For more detailed information about Exchange 2007 SP2, click here
In Part 1 we looked at preparing our server for the installation of Exchange 2010. What about preparing Active Directory and domains? As you’ll see during the installation, if you run the Exchange 2010 Setup wizard with an account that has the permissions required to prepare Active Directory and the domain, the wizard will automatically do it for you. You can, of course, prepare Active Directory manually the way you have always been able to – Refer to Microsoft Technet for more information.
If you’ve reached this phase of the installation you’ve probably already downloaded a copy of the Exchange 2010 Beta. If not, simply click here to download it!
Once extracted, launch the Exchange 2010 Setup wizard..
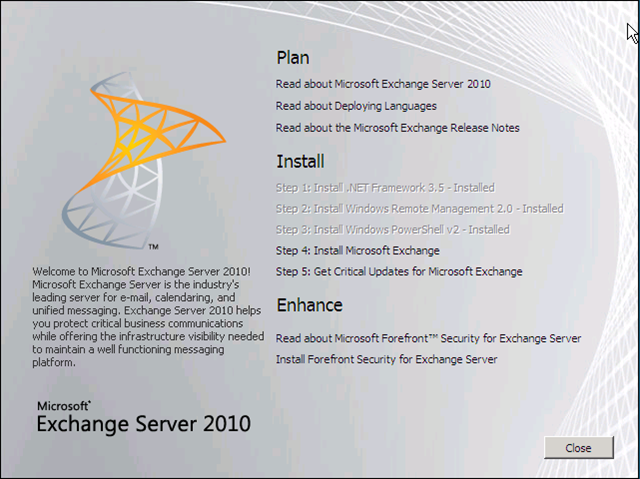 If you have not installed all the prerequisites, Setup will link you to the appropriate sites where you can download the components. We did this in Part 1, so we simply click “Step 4: Install Microsoft Exchange”
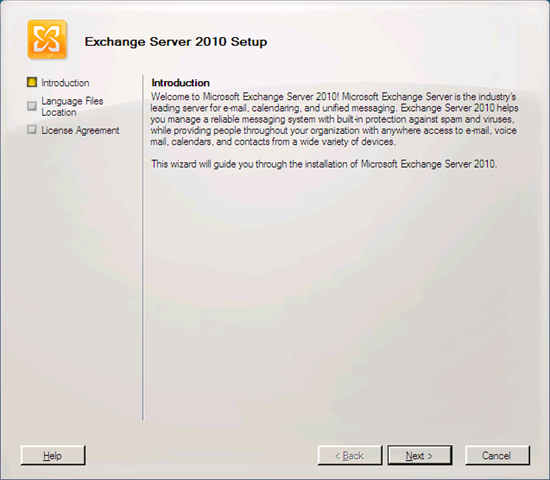
After clicking “Next” on the Introduction page, we are presented with the following options relating to the location of the language files. I selected the “Download latest language files from the Web” option.

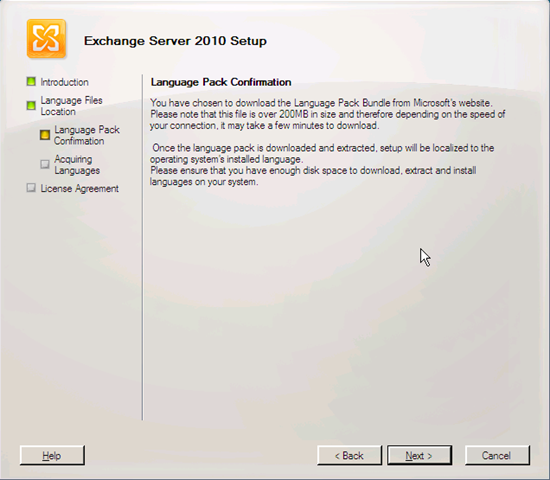
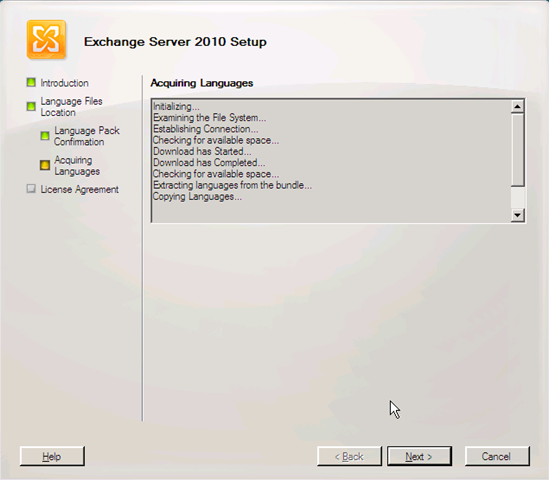
Once you acknowledge the confirmation, the Setup wizard will “acquire” the latest language files.
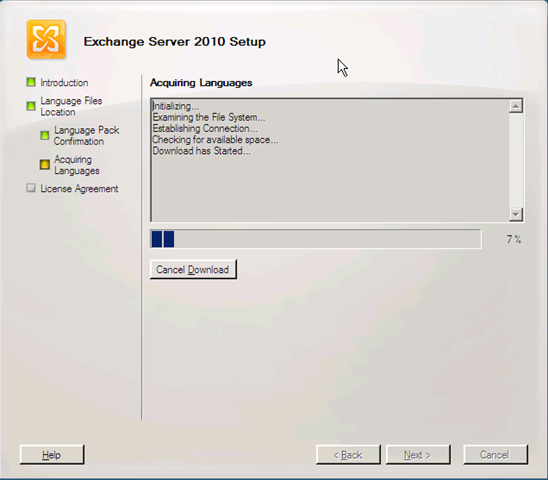
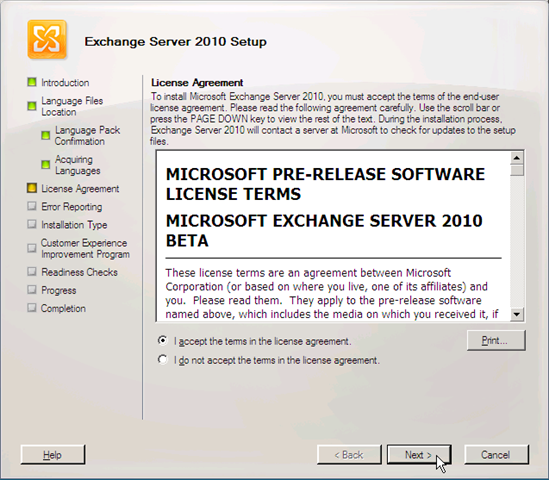
Accept the License Agreement and click “Next”
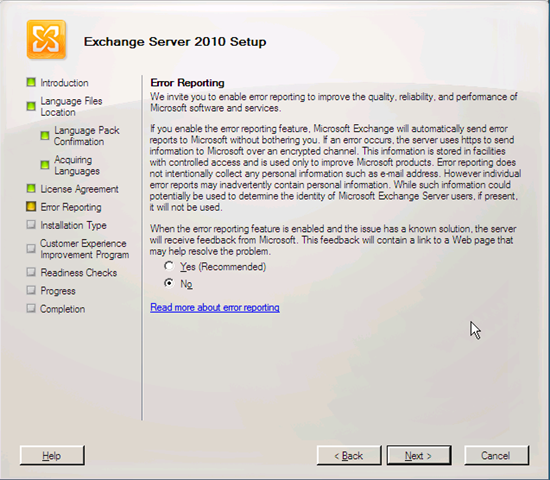
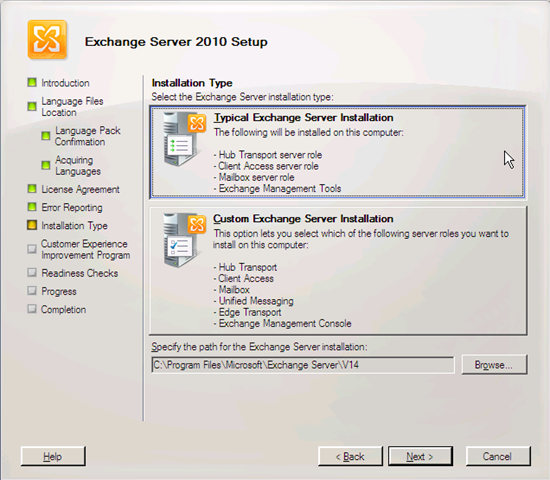
Next we select the installation type, here we select “Typical Exchange Server Installation” which will install the Hub Transport, Client Access and Mailbox Server Roles on our single server. Because we selected the “Typical Exchange Server Installation” option, we will not be able to install the Unified Messaging Server Role, Edge Transport Server Role, or Clustered Mailbox servers during this installation.
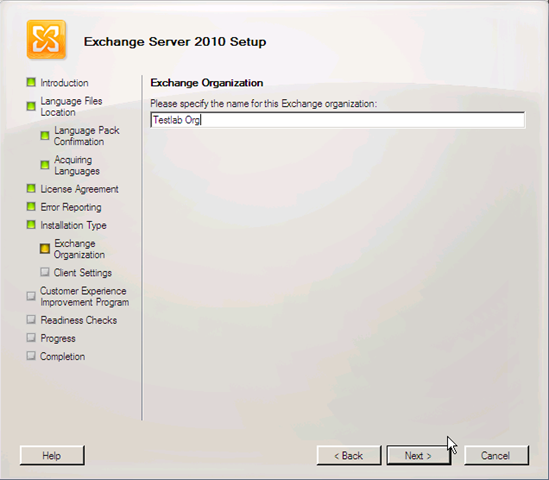
Because this is the first Exchange Server in the organization, we are asked to provide a name for the Organization. The Exchange organization name can't contain more than 64 characters and can contain only the following characters:
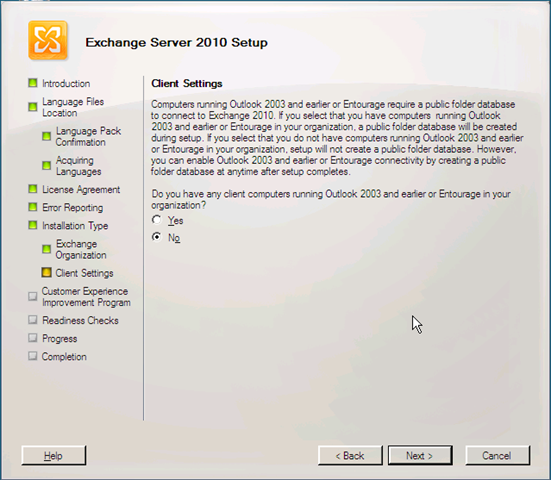
Since this is the first Exchange Server in the organization, on the “Client Settings” page we select the option that describes the client computers in our organization that are running Microsoft Office Outlook. If you select “No”, Exchange Setup will not create a public folder database on the Mailbox server. You can add a public folder database later. For example, if you add client computers that are running Outlook 2003 and you need a public folder database, you can create one on the Exchange Mailbox server. You must then configure the offline address book for public folder distribution, and then restart the Microsoft Exchange Information Store service before client computers that are running Outlook 2003 and earlier will be able to connect to the server.
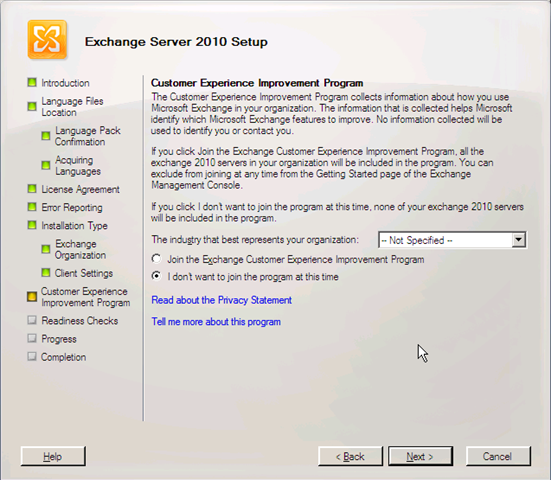
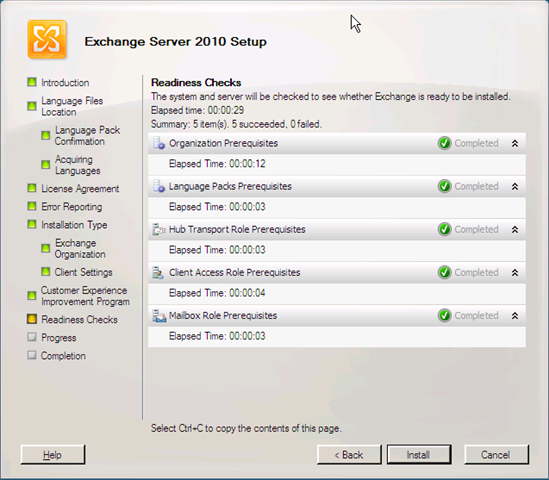
On the “Readiness Checks” page, view the status to determine if the organization and Server Role prerequisite checks completed successfully. If they have completed successfully, click “Install” to install Exchange.
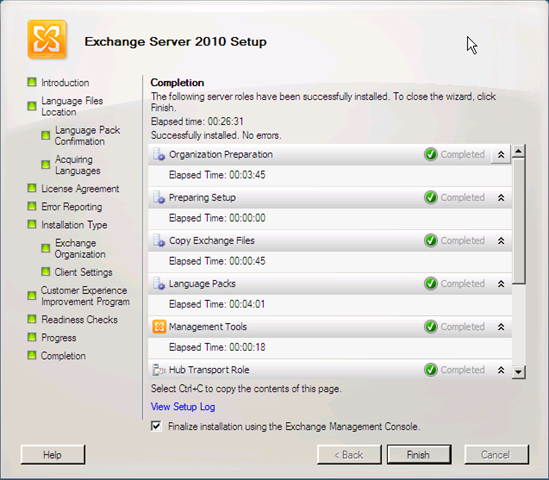
Congratulations, you have successfully completed a “Typical Installation” of Exchange 2010. I highly recommend reading the Exchange 2010 documentation on Microsoft Technet.
Since the release of Exchange 2010 Beta last month, I have been itching to deploy it in my test environment and really get my hands dirty. I have split this post into 2 parts because I want to use screen shots (hey, I’m a techie, we like pictures!) to really show off the product.
In part 1 of this 2 part post, we’ll look at how to prepare your server for a “Typical Installation” of Exchange. Notice how “Typical Installation” appears in quotation marks, this is because we refer to a “Typical Installation” when the Hub Transport, Client Access and Mailbox server roles are installed on a single server. Regardless of the installation options you use, installing Exchange does require a certain degree of planning and preparation.
To give you a brief overview of my test environment: I have a single Active Directory domain and all my servers are running Windows Server 2008, 64bit SP1. IPv6 is disabled on all my servers.
Exchange 2010 requires the following to be installed prior to installation (I completed my installation in the following order as well):
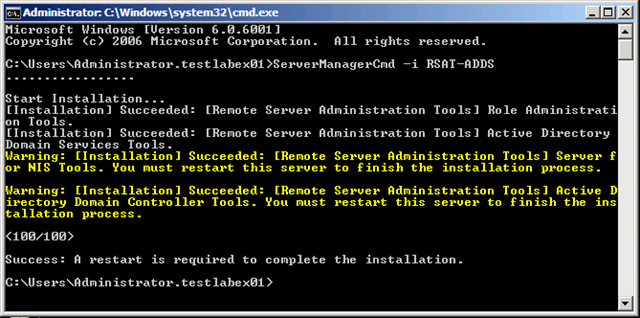

In Part 2, its we’ll look at the exciting stuff, the actual installation.
We’ve all been waiting for it for some time now, Microsoft announced the release of Exchange 2010 Beta last week.
Exchange 2010 was built from the ground up with Software + Services in mind with more than 5 million users are already enjoying the benefits of Exchange 2010 as a service today.
Exchange 2010 will help organizations reduce costs, protect communications and delight e-mail users with capabilities to do the following:
Exchange 2010 brings many new and exciting features to the table, for an overview of these, check out this video on Technet Edge
To download the Exchange 2010 Beta, click here
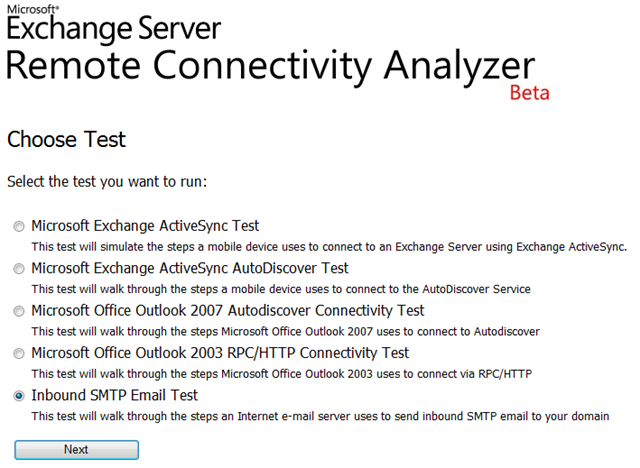
In part 1 of this series, I wrote about how to go about testing your new deployment by making use of several “Test-“ cmdlets in EMS. The Exchange Server Remote Connectivity Analyzer is a great way to test external access. The Exchange Server Remote Connectivity Analyzer (https://www.testexchangeconnectivity.com/) allows administrators to perform the following remote tests:
In the below example, we’ll perform an Inbound SMTP Email Test:
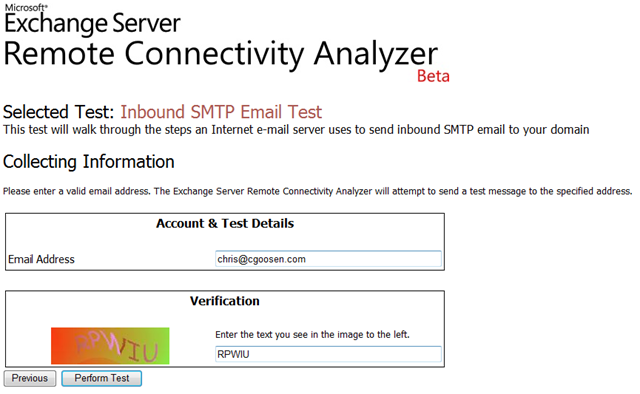
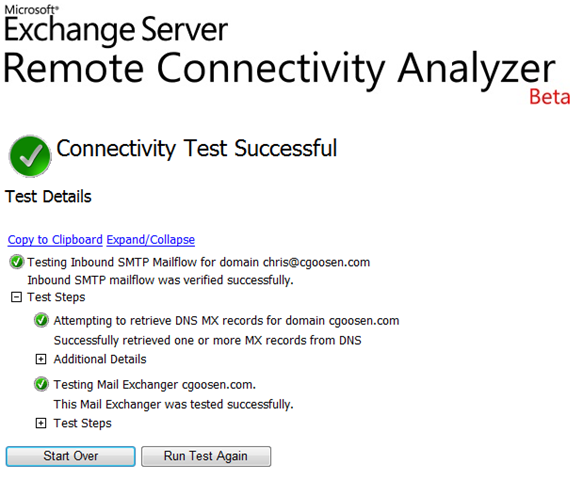
The above process generates a test email that looks similar to this:
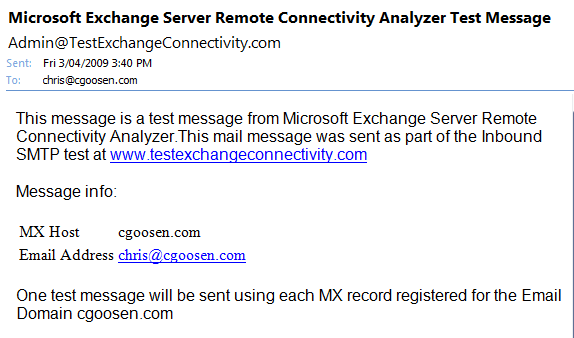
In summary, the Exchange Server Remote Connectivity Analyzer is a great tool for testing remote functionality of your Exchange environment. For more information on this tool, including a short introduction video, click here
My friend Nicolas recently wrote a great post on how to find and export mailboxes by size from the Exchange Management Shell (EMS). I’m sure many administrators will find this pretty handy.