I love PowerShell and I really love to automate things! I recently started looking into leveraging Azure services for some automation tasks and discovered how powerful it could be. I also had a lot of fun doing it and wanted to share some of what I learned.
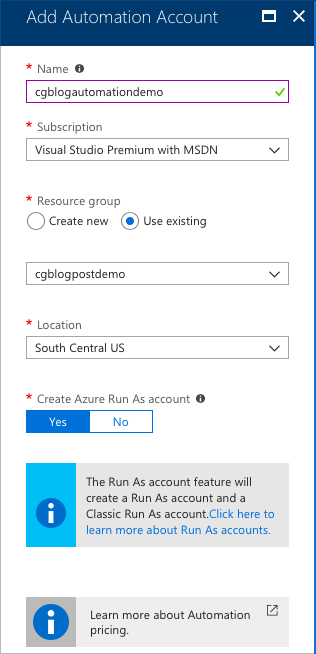
Azure Automation is for scheduling tasks or scripts that run on some sort of schedule and is especially useful for any automation you might be doing with Office 365. Your code is stored in a Runbook (PowerShell or Python) and executed according to a schedule. Interacting with modules is a little different to working with your local PowerShell installation, however the module gallery makes it pretty simple. Getting started is simple, let's assume in this example we will be automating a report in Exchange Online. First you create an Automation Account:
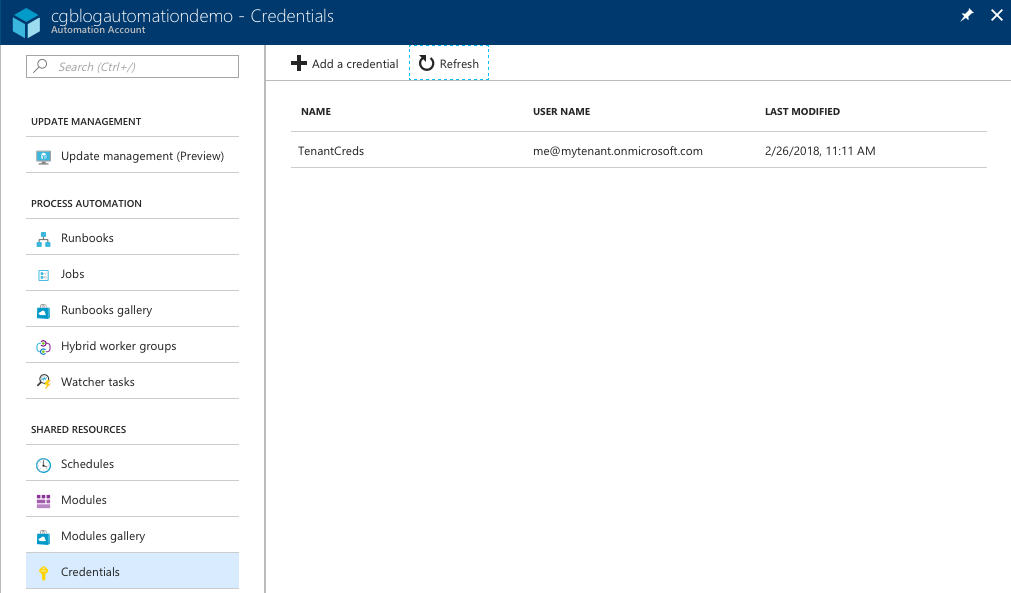
Create a credential set for your Exchange Online credentials - remember what you call it. "TenantCreds" in my case.
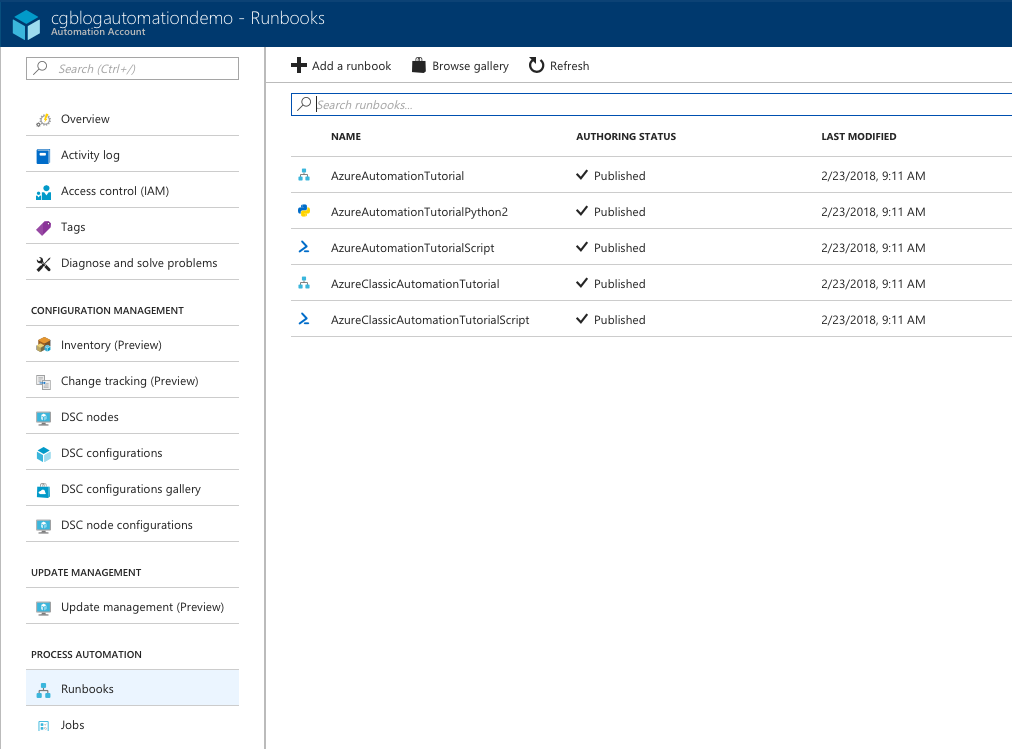
Then create a new Runbook:

Next it's time to add some PowerShell to the Runbook. Since we will be working in Exchange Online, we need to create and import that session. This is similar to working with Exchange Online sessions on your local machine, but you will notice that we don't need to include the credentials in the code and simply reference the credential set we created earlier:
1
2
3
4
$UserCredential = Get-AutomationPSCredential -Name "TenantCreds"
$Session = New-PSSession -ConfigurationName Microsoft.Exchange -ConnectionUri https://outlook.office365.com/powershell-liveid/ -Credential $UserCredential -Authentication Basic -AllowRedirection
$Commands = @("Get-MigrationBatch","Get-MigrationUser","Get-MigrationUserStatistics","Get-MoveRequestStatistics","Get-MoveRequest")
Import-PSSession -Session $Session -Prefix "EXO" -DisableNameChecking:$true -AllowClobber:$true -CommandName $Commands | Out-Null
I had some errors when trying to import all Exchange Online cmdlets, so I limit it to only the cmdlets I intend to use in the script. I also add a prefix of "EXO" to these, so these cmdlets are used as follows:
1
$MigBatch = Get-EXOMigrationBatch | Where-Object {$_.Identity -like '*MyMigration*'} | foreach {$_.BatchGuid}
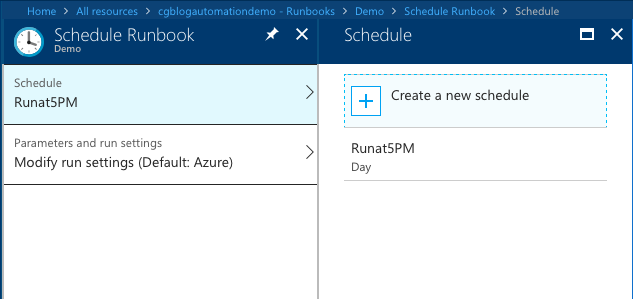
Lastly, we need to create a schedule for the automation job:
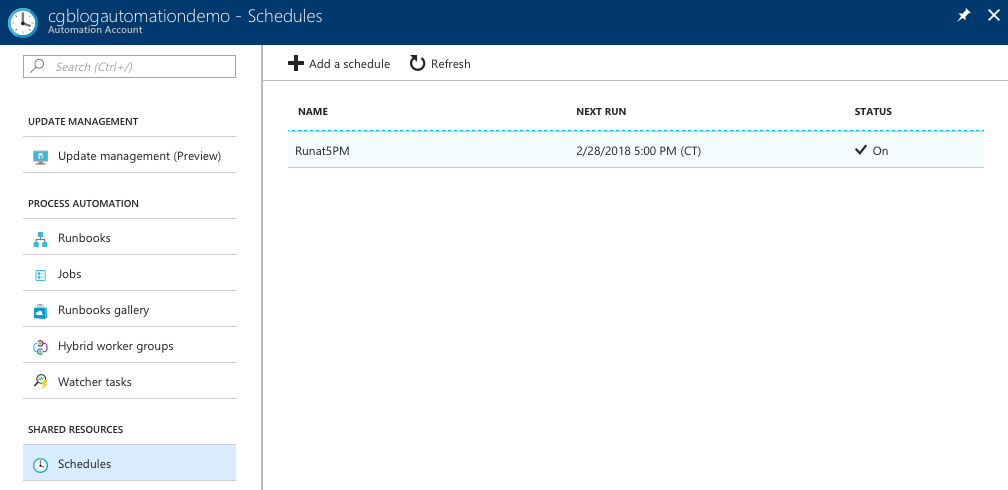
Once the schedule has been created, you can link it to the Runbook:
This is great if you need to perform tasks that don't generate any output. What happens when something (e.g .CSV file) is generated? There are a couple of ways to deal with that. You could just use the temp folder to store your data and then email it to yourself - remember, data stored in the temp folder will not persist:
1
$TmpPath = $env:TEMP
Another way to deal with this data is to write it to Azure Storage. There is a PowerShell module available for Azure Storage that can be used with Azure Automation, but you can also use the APIs. Since I figured out how to use the API, it has become my go to method because it is actually much faster. I have also been able to use it in environments where it isn't possible to install modules.
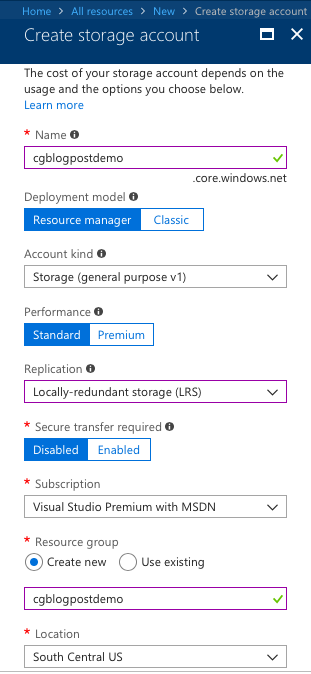
The first thing we need to do is create a Storage Account in Azure:
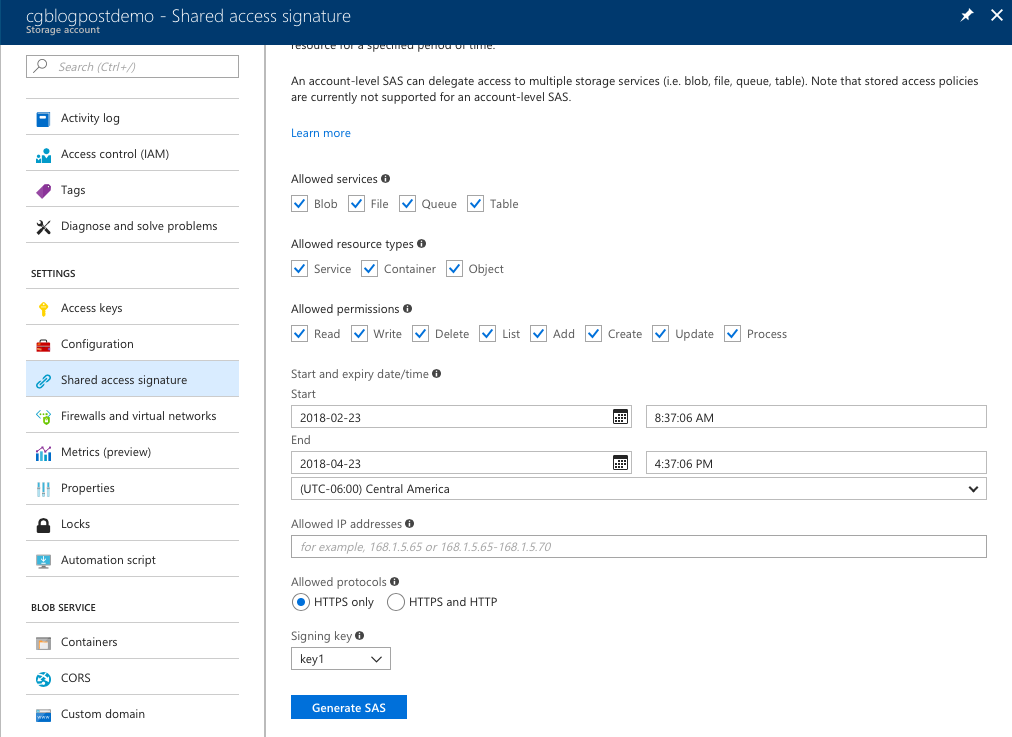
We then create a Shared Access Signature (SAS) for that Storage Account:
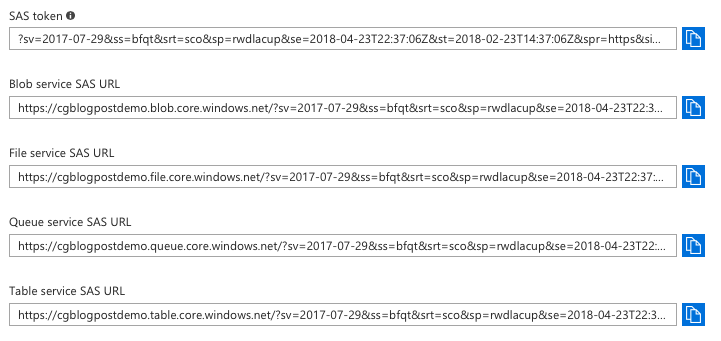
The result should look similar to this:
In this example, we are going to store our script output in the Table Service, so we'll be using the Table Service REST API. When working with the Table Service it is important to understand tables, entities, system properties and other limitations, but for the purposes of this post I'm going to simplify things a little. Tables store data as collections of entities - entities are similar to rows and have a primary key and a set of properties. A property is similar to a column.
Each entity always has the following system properties:
- PartitionKey
- RowKey
- Timestamp
Timestamp is managed automatically and isn't something you can change. The PartitionKey and RowKey are always required and are used for scalability and indexing of the content so it is important to consider these when designing your table. Here is some really good information to read up on. In this example, I'll looking up migration status of a mailbox in Exchange Online and will be inserting this data into a table. I'm going to use the "BatchID" as the PartitionKey and the "Status" as the RowKey. The table name in the example will use the "Alias" of the mailbox.
First, lets define the data we are going to insert. This could easily be used in a script or automation Runbook as a Foreach() loop, but to keep it simple I'm just going to manually define them in the example
1
2
3
4
5
6
7
8
9
$UserTable = "ZacTurner"
$PartitionKey = "Batch02"
$RowKey = "Synced"
$PrimaryEmailAddress = "ZacTurner@o365testlab.com"
$MbxGuid = "e31949b2-ebc6-4f57-b9ae-0aa8ae73bb2c"
$Batch = "Batch02"
$Status = "Synced"
$Skipped = "4"
$LastCheck = "2/27/2018 8:28:01 PM"
Next we will import this information, during the import, we'll first check to see if a unique table already exists (using the Alias). If one does exist, we'll insert the data, if one doesn't exist we will create it.
1
2
3
4
5
6
7
8
9
10
11
12
13
14
15
16
17
18
19
20
21
22
23
24
25
26
27
28
29
30
31
32
$AzureEndpoint = 'https://cgblogpostdemo.table.core.windows.net/'
$AzureSAS = "?sv=2017-07-29&ss=bfqt&srt=sco&sp=rwdlacup&se=2018-04-05T02:31:38Z&st=2018-02-27T19:31:38Z&spr=https&sig=<removed>"
$AzureRequestHeaders = @{
"x-ms-date"=(Get-Date -Format r);
"x-ms-version"="2016-05-31";
"Accept-Charset"="UTF-8";
"DataServiceVersion"="3.0;NetFx";
"MaxDataServiceVersion"="3.0;NetFx";
"Accept"="application/json;odata=nometadata"}
$UserURI = $AzureEndpoint + $UserTable + "/" + $AzureSAS
#Check if table already exists
$UserTableExists = Invoke-WebRequest -Method GET -Uri $UserURI -Headers $AzureRequestHeaders
$UserTableExists = $UserTableExists.StatusCode
If ($UserTableExists -ne "200"){
$TableRequestBody = ConvertTo-Json -InputObject @{
"TableName"=$UserTable}
$EncodedTableRequestBody = [System.Text.Encoding]::UTF8.GetBytes($TableRequestBody)
$TableURI = $AzureEndpoint + 'Tables/' + $AzureSAS
Invoke-WebRequest -Method POST -Uri $TableURI -Headers $AzureRequestHeaders -Body $EncodedTableRequestBody -ContentType "application/json"
}
#Insert data
$AzureRequestBody = ConvertTo-Json -InputObject @{
"PartitionKey"= "$PartitionKey";
"RowKey"= "$RowKey";
"PrimaryEmailAddress"= "$PrimaryEmailAddress";
"MbxGuid"= "$MbxGuid";
"BatchName"= "$Batch";
"Status"= "$Status";
"ItemsSkipped"= "$Skipped";
"LastCheck"= "$LastCheck"}
$EncodedAzureRequestBody = [System.Text.Encoding]::UTF8.GetBytes($AzureRequestBody)
Invoke-WebRequest -Method POST -Uri $UserURI -Headers $AzureRequestHeaders -Body $EncodedAzureRequestBody -ContentType "application/json"
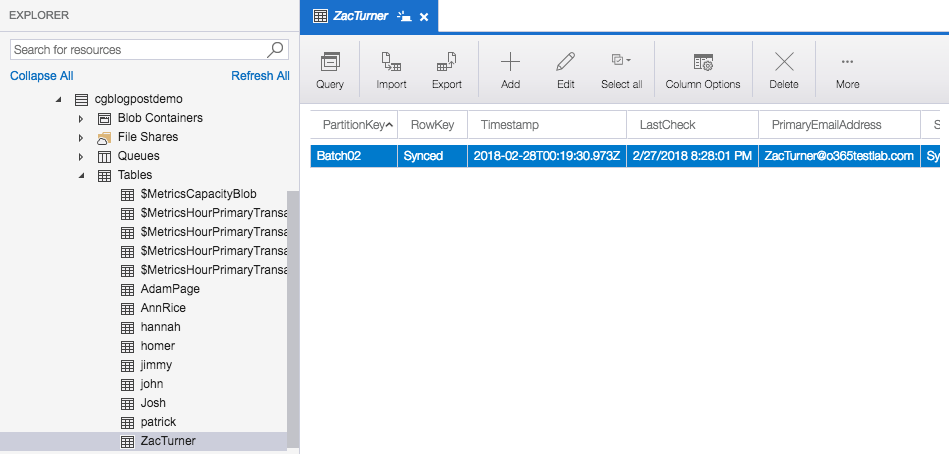
You could also use Invoke-RestMethod instead of Invoke-WebRequest. The resulting tables should look like this:
Credit to a couple of Stack Overflow posts that were really helpful when I was trying to figure this out: